How To Check Dog Paws For Injury: Vet-Approved Steps
Learn how to check dog paws for injury with a quick, vet-approved checklist. Spot cuts, burns, or thorns fast and keep your pup safe at home.
Gently inspect pads, nails, and between toes daily, watching for heat, swelling, and pain.
If you want a calm, step-by-step plan for how to check dog paws for injury, you’re in the right place. I’ve worked with hundreds of dogs in clinics and at home, and I’ve seen how fast a small paw problem can turn big. In this guide, I’ll show you how to check dog paws for injury with simple steps you can use today, plus what to do next if you spot trouble.

Why paw checks matter
Dogs use their feet for everything. Running. Braking. Turning. Cooling off. Even saying hello. A nick, burn, or torn nail can change how they walk, and pain can show up as odd behavior, slow walks, or licking.
Most paw issues I see come from rough ground, hot pavement, ice melt, foxtails, or nails that got too long. The good news is that daily checks work. When you know how to check dog paws for injury, you catch problems early and avoid big vet bills later.

The quick checklist: what healthy paws look like
Use this fast scan before and after walks.
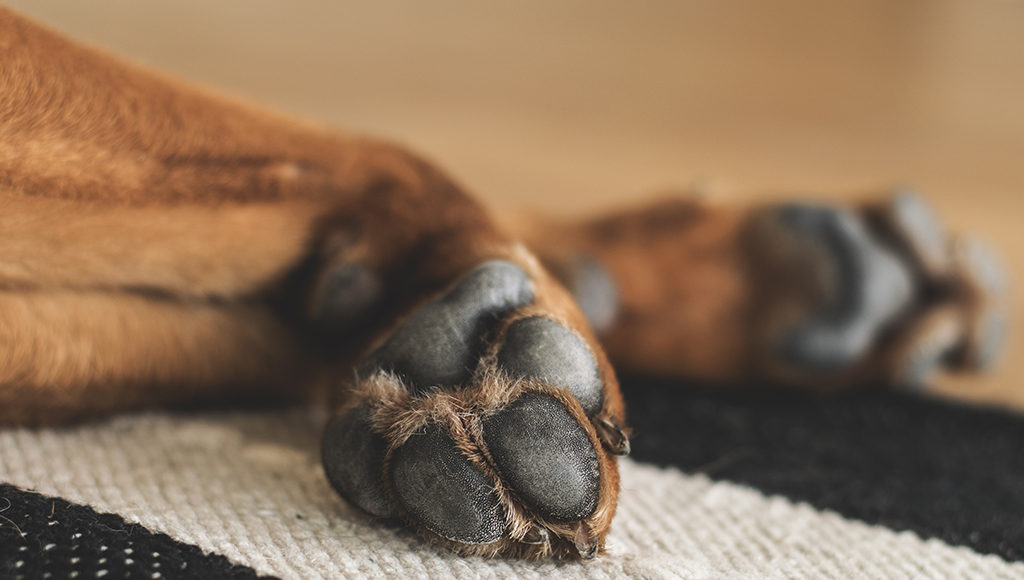
- Pads feel cool to the touch, not hot or swollen.
- Pad skin is smooth, slightly rough, not cracked or peeling.
- No cuts, thorns, or grit stuck in the webbing between toes.
- Nails are short, not touching the ground, with no splits.
- Dewclaws are trimmed and not curling into the skin.
- Hair between toes is tidy, no mats.
- No foul smell, discharge, or red rash.
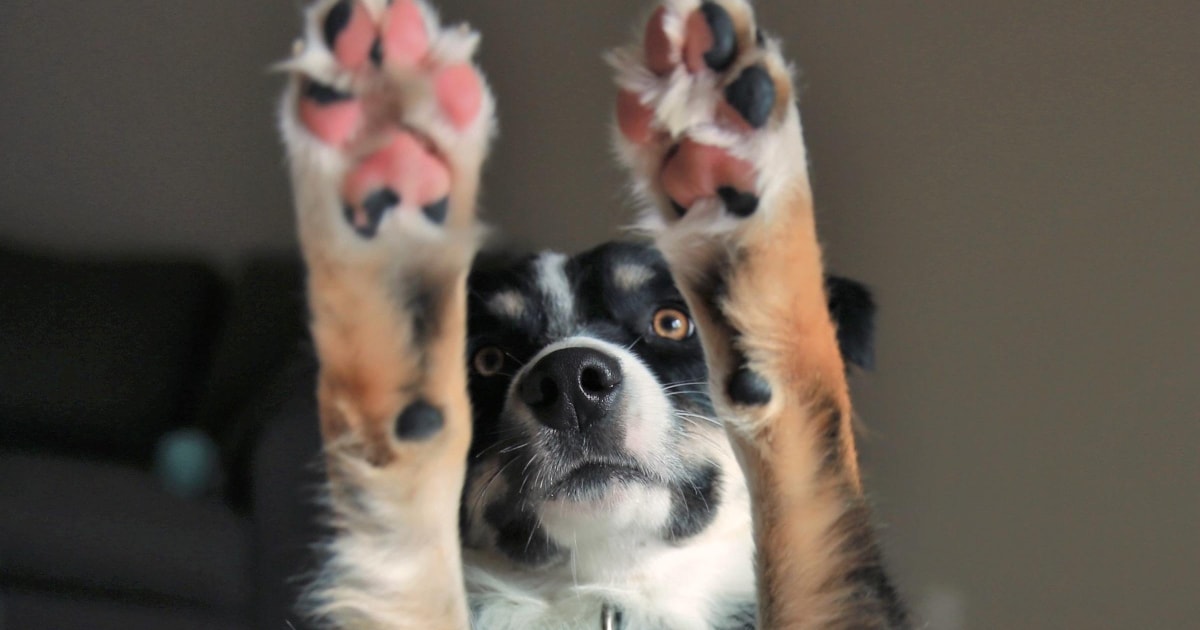
- Dog walks normally, no limping or toe-splaying.
- Dog is relaxed when you touch paws, not yanking away.
If you use this list for how to check dog paws for injury, you will spot issues fast.

Step-by-step: how to check dog paws for injury
Here is a simple routine that takes two minutes.
- Set the mood. Sit on the floor with treats. Keep your voice calm.
- Start with a quick look. Compare left and right paws for size and color.
- Check the top. Look at nails, dewclaws, and the skin over the toes.
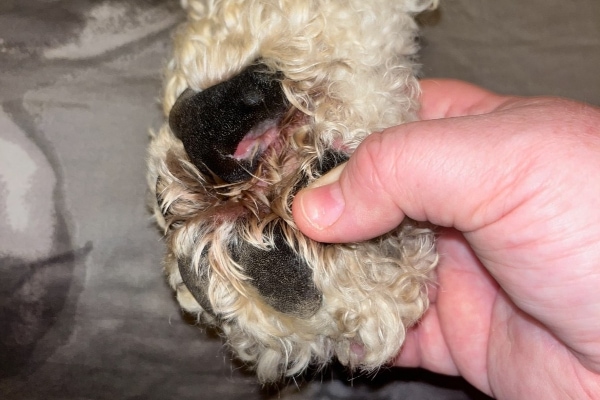
- Check the bottom. Inspect each pad, including the big carpal pad on the front legs.
- Spread the toes. Gently separate each toe to see the webbing.
- Feel for heat and swelling. Warmth often means inflammation.
- Press lightly on each pad. Watch for flinching or pulling back.
- Run your fingers along each nail. Look for cracks or a torn quick.
- Wipe clean. Use a damp cloth or pet wipe to find hidden grit or glass.
- Smell the paw. A sweet, musty, or foul odor can signal yeast or infection.
- Watch a few steps. Ask for a short walk to check gait and weight bearing.
Repeat this plan after hikes, beach days, snow walks, or anytime your dog licks at a paw. This is the core of how to check dog paws for injury and build your dog’s trust.
What to do if you find a problem
Small issues are common. Here is what I do first before calling the vet.
- Tiny cuts or scrapes. Rinse with lukewarm water or saline. Pat dry. Apply a thin pet-safe antiseptic. Keep clean and dry for 24 to 48 hours.
- Splinters, grit, or foxtails at the surface. Remove gently with tweezers if you can see the whole object. If it is buried or breaks, stop and see your vet.
- Torn or split nail. Control bleeding with styptic powder or cornstarch and gentle pressure. Wrap lightly. Many nail injuries need a vet trim and pain relief.
- Pad burns from hot pavement. Pads may look shiny, thin, or blistered. Cool with room-temperature water. Do not ice. Keep off hot surfaces. Call your vet.
- Ice or salt irritation. Rinse paws after walks. Use a barrier balm. If redness or sores persist, contact your vet.
- Swelling, heat, or limping. Rest, prevent licking with a cone or soft collar, and call your vet if not better in 24 hours.
If you are unsure how to check dog paws for injury in a messy or deep wound, do minimal first aid and go to the clinic. Deep pad cuts, infected webbing, and embedded foxtails can worsen fast.
When to call the vet
Call your vet now if you see any of these red flags.
- Deep cuts, heavy bleeding, or visible tissue.
- A nail ripped at the base, or a nail that will not stop bleeding.
- A foreign body under the skin, especially foxtails.
- Severe swelling, sudden limping, or your dog refuses to bear weight.
- Pus, foul smell, or blackened skin.
- Burns with blisters, pads sloughing, or suspected chemical exposure.
- Fever, lethargy, or pain that lasts beyond a day.
As a rule, if you have to ask whether it is urgent, it probably is. Part of learning how to check dog paws for injury is knowing your limits and acting early.

Prevent paw injuries before they happen
Most paw pain is preventable with small habits.
- Trim nails every two to four weeks. Nails that click on floors are too long.
- Use paw balm before and after harsh walks for a thin barrier.
- Rinse and dry paws after beach, trail, or salted roads.
- Keep hair between toes short to avoid mats and ice balls.
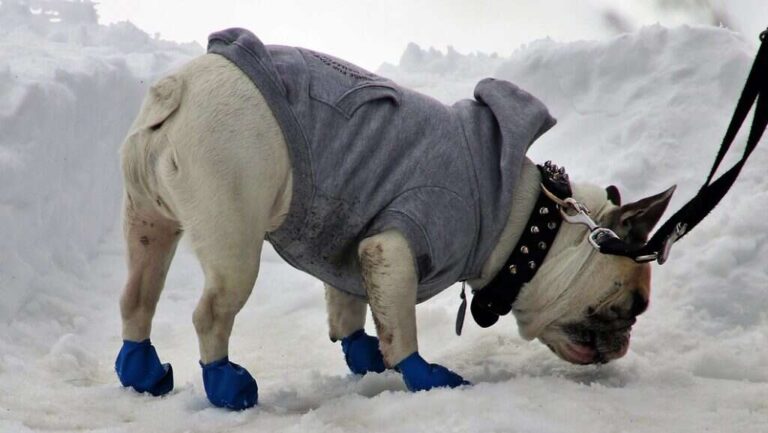
- Use booties on hot pavement, ice, or rocky trails.
- Choose routes with shade or grass on extreme days.
- Build up mileage slowly. Tough pads come with time, not one long run.
Make prevention part of how to check dog paws for injury. A one-minute rinse and look can save weeks of healing.
Build a simple paw first-aid kit
Keep a small pouch in your car or by the leash.
- Saline wash or a squeeze bottle of clean water.
- Gauze pads and cohesive wrap that sticks to itself.
- Pet-safe antiseptic spray or wipes.
- Styptic powder for nail bleeds.
- Blunt-tip scissors and tweezers.
- Paw balm and booties in the right size.
- A soft cone or inflatable collar to stop licking.
Having these tools makes how to check dog paws for injury easier and less stressful.
:strip_icc()/dog-paw-problems-4584406-04-0e27cfe60a4246b4b98c06d0b0f123da.jpg)
Train your dog to love paw handling
Cooperation makes checks fast and kind.
- Pair paw touches with treats. Touch, treat, release. Keep sessions short.
- Work one step at a time. First the leg, then the paw, then between toes.
- Use a cue like “paw check” so your dog knows what to expect.
- Practice with a soft light, a wipe, and the nail clipper near the paw before you use them.
- End on success. Many short wins beat one long struggle.
A little training turns how to check dog paws for injury into a calm routine instead of a wrestling match.

Seasonal and surface risks
Different seasons and places create different threats.
- Summer. Asphalt can exceed 125°F. If it is too hot for your hand, it is too hot for paws. Walk early or late and use booties.
- Fall. Foxtails and burrs sneak between toes. Check after trails.
- Winter. Ice, salt, and snowballs irritate skin. Rinse and dry well.
- Spring. Wet grass plus pollen can flare allergies. Watch for red, itchy webbing.
- Year-round. Gravel, shells, and rough concrete can abrade pads on long runs.
Adjust your plan for how to check dog paws for injury to match the season and surface underfoot.
Real-world lessons from the field
A few quick stories to guide your choices.
- The surprise nail rip. A mellow Lab bolted after a squirrel, caught a long nail on a deck board, and tore it. Since then, I trim nails every two weeks for porch-loving dogs.
- The hot sidewalk mistake. A fit Border Collie melted her pads on a short noon walk. Now I do the back-of-hand test on pavement. If I cannot hold for seven seconds, we skip it or use booties.
- The hidden foxtail. A limping terrier had a tiny red spot in the webbing. A foxtail migrated up the toe. We caught it early because the owner did daily checks after hikes.
These moments taught me that how to check dog paws for injury is not just a task. It is a habit that protects comfort, confidence, and movement.
Frequently Asked Questions of how to check dog paws for injury
How often should I check my dog’s paws?
Daily is best, even if it is a 30-second scan after walks. Frequent checks make small problems easy to fix.
What tools help me check more safely?
A small flashlight, pet wipes, and tweezers help you see and clean. Keep styptic powder for nail bleeds and gauze for wraps.
How can I tell if a pad burn is serious?
Mild burns look shiny or thin and feel warm. Blisters, sloughing skin, or bleeding need a vet visit.
Should I let my dog lick a sore paw?
No. Licking slows healing and can seed infection. Use a cone or bootie and see your vet if it continues.
Can I walk my dog with a paw injury?
Short bathroom breaks only, and protect the paw with a clean wrap or bootie. Ask your vet when normal walks can resume.
Conclusion
Small, steady habits keep paws safe. Make a one-minute scan part of every walk, learn how to check dog paws for injury with a calm routine, and act early when something seems off. Your dog will move better, heal faster, and stay happier on every adventure.
Try the checklist today, build a tiny paw kit, and set a reminder to trim nails this week. If you found this helpful, share it with a fellow dog lover, subscribe for more pet care guides, or drop a question in the comments.

Pet Care Writer & Researcher
Daniel writes practical guides on daily care, feeding, and safety, turning complex topics into simple, actionable advice.