Do It Yourself Dog Bunk Bed Plans: Easy DIY Guide
Build cozy, space-saving beds with do it yourself dog bunk bed plans. Follow this simple guide for materials, steps, and helpful design ideas.
Do it yourself dog bunk bed plans create a safe, space-saving sleep area for two dogs with basic tools and careful design.
Do it yourself dog bunk bed plans can turn a small corner into a cozy, useful retreat for your pets. The best designs are not just cute. They use stable joints, safe rails, easy-clean surfaces, and steps that match each dog’s age, size, and mobility. This guide explains how to plan, build, test, and maintain a sturdy dog bunk bed with confidence.
What Is a DIY Dog Bunk Bed?
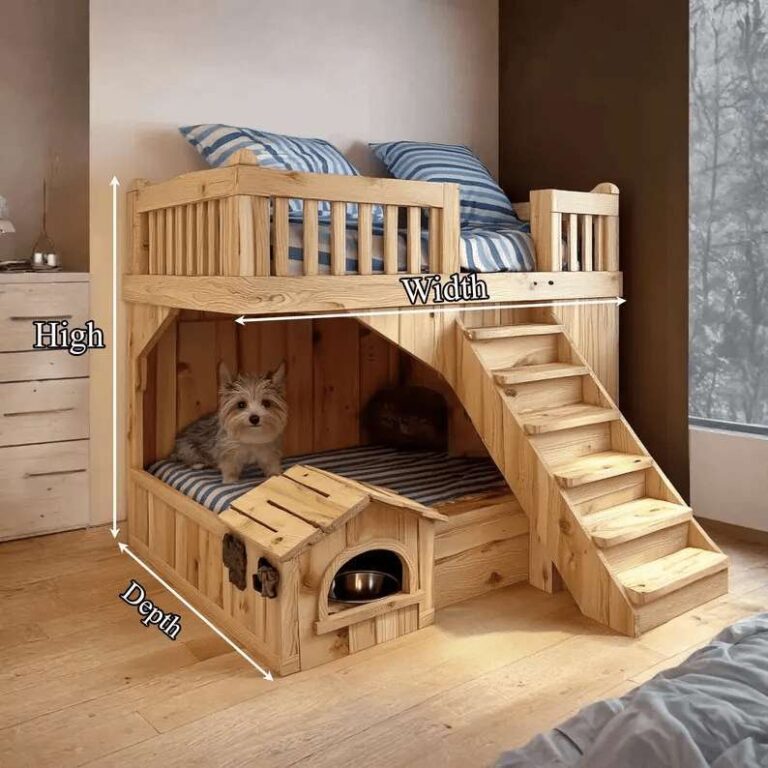
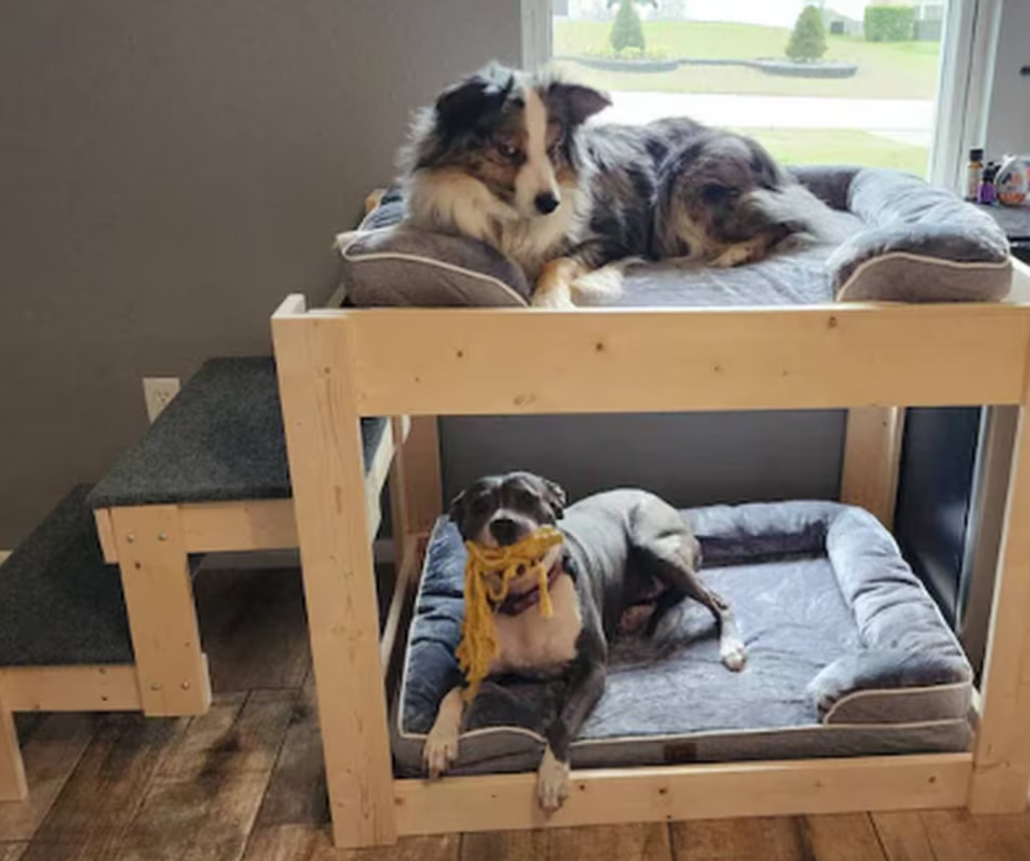
A DIY dog bunk bed is a two-level sleeping unit made for dogs. One bed sits above another, much like a compact bunk bed for children. It can give two dogs separate resting spots while using less floor space than two large beds.
The upper level needs more care than a basic raised dog bed. A dog may jump, turn, scratch, or shift weight suddenly. For that reason, the frame must resist wobbling, the sleep platform must support the dog’s full weight, and the guard rails must prevent falls.
Do it yourself dog bunk bed plans work best when they treat safety as the main goal. Style comes second. A simple frame built from strong lumber is often safer than an ornate design with weak joints.
Benefits of Building a Dog Bunk Bed
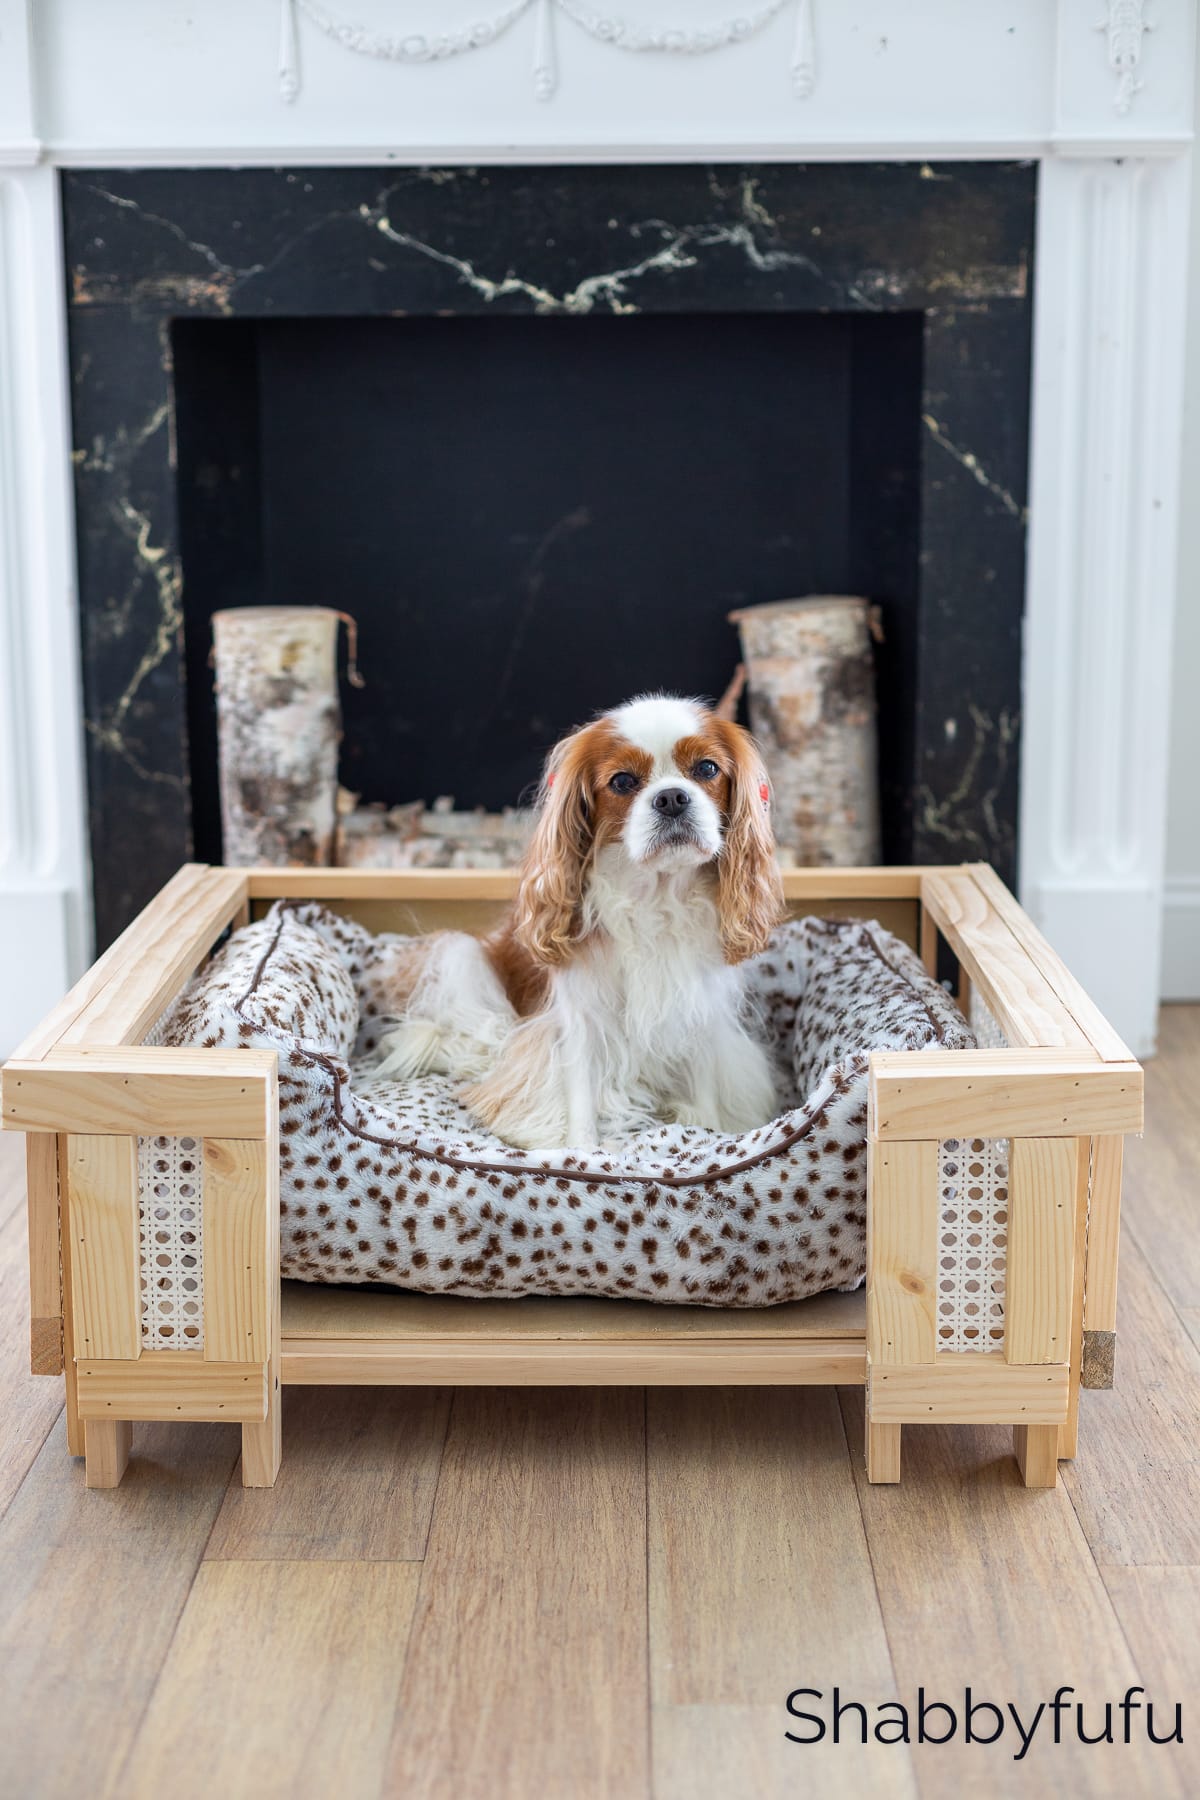
A homemade bunk bed can solve several common pet care problems. It may help you save space, match your room decor, and give each dog a clear sleeping area.
Key benefits include:
• Space savings: Two sleeping areas use less floor space than two separate beds.
• Lower cost: Lumber, screws, and washable fabric may cost less than a custom pet bed.
• Custom sizing: You can build the frame for small dogs, large dogs, or mixed-size pets.
• Better organization: Each dog gets a defined place to rest.
• Easy repairs: You can replace a board, cushion, or rail without buying a new bed.
• Personal design: You can match the bed to a crate, shelf, or furniture style.
In my own furniture projects, the biggest benefit has been control. Store-bought beds often look attractive but may have thin supports or cushions that do not fit the dog. A homemade frame lets you adjust the height and width before cutting a single board.
Still, a DIY dog bunk bed is not right for every pet. Older dogs, dogs with arthritis, dogs with poor vision, and dogs that dislike stairs may do better with a floor-level bed. A bunk bed should improve comfort, not create a daily obstacle.

Safety Rules Before You Start
Safety begins with the dogs, not the measurements. Watch how your pets sleep, climb, jump, and share space. A calm small dog may use an upper bed well, while an active dog may need a low platform with a wide ramp.
Use these safety rules:
• Check the weight rating: Design for the combined weight of the dog, mattress, and movement. A useful target is at least twice the heaviest expected load.
• Keep the base stable: The bottom frame should sit flat and resist side-to-side movement.
• Add guard rails: Place rails around exposed sides of the upper platform. Leave only the entry side open.
• Avoid sharp edges: Sand every cut edge and round corners with sandpaper or a router.
• Use pet-safe finishes: Choose a low-odor, water-based finish that fully cures before use.
• Skip toxic materials: Do not use treated outdoor lumber, peeling paint, loose foam, or rusty hardware.
• Secure the bed: If the frame is tall or narrow, anchor it to a wall stud with suitable hardware.
• Test before use: Apply more weight than your dog weighs and push the frame from several directions.
The American Society for the Prevention of Cruelty to Animals and veterinary orthopedic guidance both stress the value of reducing fall risks for pets with joint or mobility problems. A raised bed also needs enough room for the dog to stand, turn, and stretch.
Never place the bed near a radiator, open flame, blind cord, or unstable furniture. Check that the dog cannot chew electrical wires or pull fabric into the frame.
Choosing the Right Dimensions
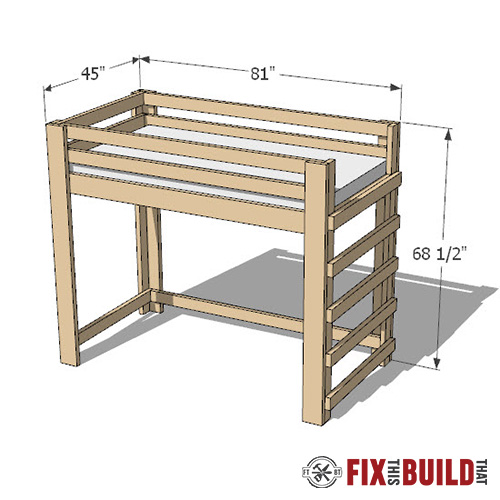
Measure the dog while it is lying down in its most relaxed position. Add extra space for stretching and turning. Do not size the bed based only on the dog’s shoulder height.
A simple sizing guide can help:
• Small dogs up to 20 pounds: A sleeping surface of about 24 by 18 inches may work.
• Medium dogs from 21 to 50 pounds: Consider about 30 by 24 inches.
• Large dogs from 51 to 90 pounds: Plan for at least 36 by 28 inches.
• Extra-large dogs over 90 pounds: Use a wider, lower design with stronger supports.
These measurements are starting points, not fixed rules. A long-bodied dog may need more length. A round-bodied dog may need more width. Add at least 4 to 6 inches beyond the dog’s body length when possible.
For the lower level, leave enough headroom for the dog to sit or rise without hitting the upper platform. The upper bed should also have enough room for the dog to stand without touching the guard rail.
For many homes, a total frame height of 30 to 40 inches works well. However, lower is safer for older dogs and dogs that move poorly. If a dog must use stairs, make each step low and deep. A ramp with a non-slip surface may be easier on the joints.

Materials and Tools
Good materials make do it yourself dog bunk bed plans safer and easier to assemble. Use straight, dry boards without large cracks, deep knots, or signs of mold.
Suggested materials
• Kiln-dried 2 by 4 lumber for the main frame
• 1 by 4 or 1 by 6 boards for guard rails
• Half-inch plywood for the sleeping platforms
• Wood screws rated for structural use
• Corner braces or metal angle brackets
• Wood glue labeled for interior use
• Sandpaper in 80, 120, and 220 grit
• Water-based, low-VOC sealant
• Two washable dog mattresses or cushions
• Non-slip pads for the floor and ramp
• Optional wall anchors for extra stability
Avoid relying on nails alone. Screws provide stronger clamping force and make future repairs easier. Predrill near board ends to reduce splitting.
Basic tools
• Tape measure
• Pencil and square
• Circular saw or handsaw
• Drill and drill bits
• Countersink bit
• Clamps
• Level
• Stud finder
• Sanding block or orbital sander
If you do not own a saw, many home improvement stores can cut boards to measured lengths. Check each cut before leaving the store. One incorrect cut can affect the whole frame.

A Simple Two-Level Dog Bunk Bed Design
This design uses two rectangular frames with plywood platforms. It is strong, simple, and easy to change.
For a bed with a 30 by 24 inch sleeping area, you can use:
• Four long frame pieces cut to 30 inches
• Four short frame pieces cut to 24 inches
• Four vertical posts cut to your chosen height
• Two plywood panels cut slightly smaller than the outer frames
• Three or four guard rail pieces for the upper level
The exact cut list depends on the lumber size and how you join the corners. Measure the inside opening after building the frames before cutting the plywood. This small step prevents frustrating gaps.
Recommended construction order
-
Build the lower rectangular frame.
-
Build the upper rectangular frame.
-
Attach the vertical posts to the lower frame.
-
Place and secure the upper frame.
-
Add plywood platforms.
-
Attach guard rails to the upper level.
-
Add stairs or a ramp.
-
Sand, finish, and inspect every surface.
Use two screws at each major joint. Apply glue to clean wood surfaces, then clamp the pieces square before driving screws. Check the frame with a carpenter’s square as you work.
When I first built a raised pet platform, I rushed the squaring step. The finished frame looked fine but rocked on the floor. Rebuilding one corner taught me an important lesson: measure diagonals before tightening every screw. If both diagonal measurements match, the rectangle is usually square.
Step-by-Step Building Instructions
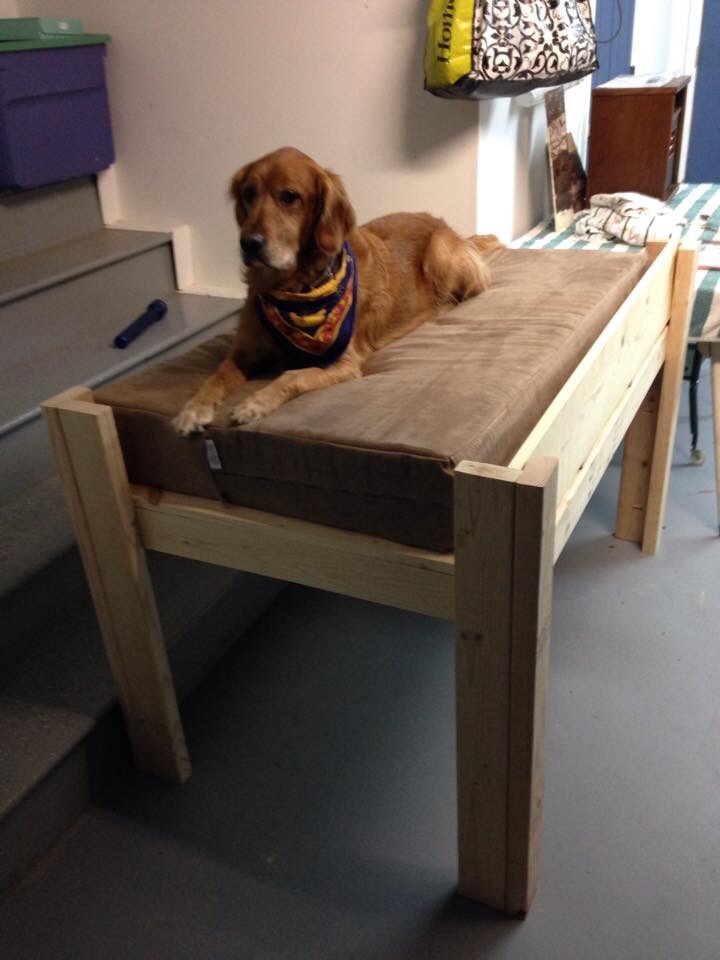
1. Prepare and label the parts
Cut all lumber to size and label each piece with masking tape. Lightly mark the top and front of each board. This reduces mistakes when several pieces look alike.
Inspect the plywood for splinters. Set aside any board with serious warping or damage.
2. Build the lower frame
Lay the lower frame pieces on a flat surface. Apply glue at the joints, clamp the corners, and drive structural screws through the longer pieces into the shorter pieces.
Measure both diagonals. Adjust the frame until the measurements match. Let the glue cure according to its label before adding heavy weight.
3. Build the upper frame
Repeat the same process for the upper frame. Make sure it matches the lower frame in width and depth. A matching frame makes the vertical posts easier to install.
Do not build the upper platform too narrow. Dogs need room to step, turn, and settle without pressing against a rail.
4. Add the vertical supports
Stand the posts at the corners of the lower frame. Use a level to keep each post straight. Attach each post with screws from two directions and add corner brackets if the frame shows movement.
For a tall bed, add a center support under the upper platform. This support reduces flex and helps spread weight across the frame.
5. Install the sleeping platforms
Place plywood on each frame. Leave a small expansion gap around the edges so the wood does not bind when humidity changes. Secure the plywood with screws placed at regular intervals.
Countersink the screws slightly. Then cover or sand the area so no metal edge can catch a paw or cushion.
6. Add upper guard rails
Install rails on the back and sides of the upper bed. The rail should be high enough to stop a sleeping dog from rolling out. Avoid making the entry opening so small that the dog must twist or jump awkwardly.
Round the top rail edges. A dog may rest its chin there, so the surface should feel smooth.
7. Build access steps or a ramp
Use wide steps with a non-slip surface. Each step should be stable and firmly attached to the main frame. A ramp should have side guides and a textured surface.
Test the access path while holding the dog’s leash. Do not force a nervous dog onto the upper bed. Reward calm exploration with praise and treats.
Making the Bed Comfortable and Easy to Clean
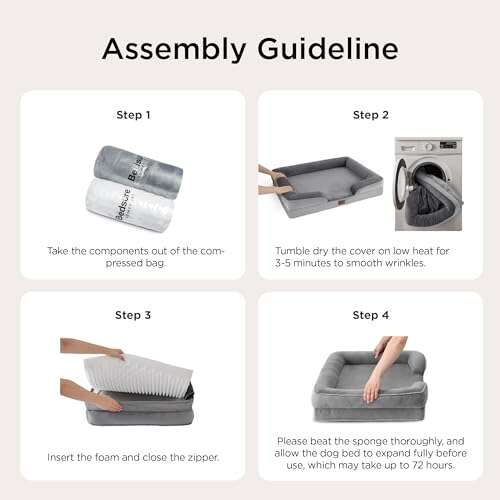
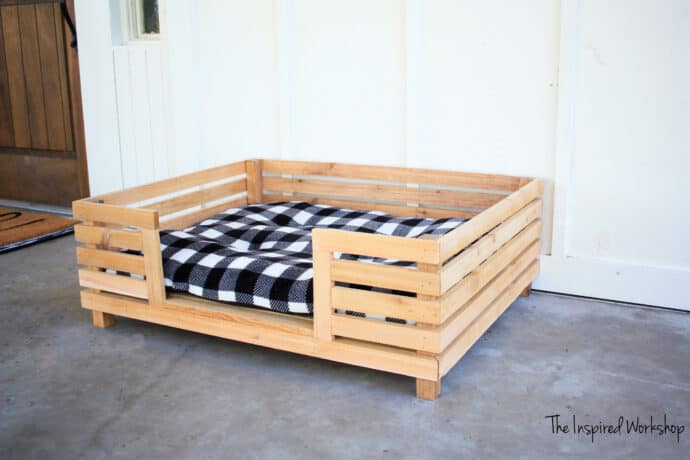
The frame is only half the project. The cushion affects sleep quality, joint comfort, and hygiene.
Choose a mattress that supports the dog without sinking flat onto the platform. Older dogs may benefit from orthopedic foam, but the foam must stay inside a durable, washable cover.
Use covers with a zipper or envelope closure. Keep a spare cover available so you can wash one while the other is in use. Wash bedding often, especially if the dog has allergies, sheds heavily, or spends time outdoors.
Useful comfort upgrades include:
• A washable waterproof liner under the cushion
• A thin non-slip mat below the mattress
• Removable bolster pillows
• A cool cotton cover for warm weather
• A fleece cover for cold rooms
Do not use loose blankets with long threads that a dog may chew or swallow. Check cushions for torn seams and exposed foam. Replace damaged bedding quickly.
A simple cleaning routine works well. Vacuum hair each week, wash covers as needed, and inspect the frame every month. Look for loose screws, cracks, moisture, and chewing damage.
Common Mistakes to Avoid
Many do it yourself dog bunk bed plans fail because the builder focuses on appearance instead of function. These mistakes are easy to prevent.
• Building too high: A tall bed increases fall risk and can scare older dogs.
• Using thin plywood: Thin panels may bend, crack, or make loud noises.
• Skipping the center support: Wide platforms need support beneath the middle.
• Adding no guard rail: Dogs can roll during deep sleep.
• Using smooth steps: Polished wood becomes slippery.
• Leaving rough edges: Splinters can injure paws or mouths.
• Applying finish too late: Strong odors may remain when the dog first uses the bed.
• Ignoring weight changes: Puppies, pregnant dogs, and dogs gaining weight need more capacity.
• Making the upper level too warm: Heat rises, so airflow matters.
• Failing to anchor the frame: A narrow tall bed may tip when a dog jumps up.
One mistake I see often is choosing a design based on a photo without checking the dog’s behavior. A quiet dog that climbs slowly needs a different bed from a playful dog that launches onto furniture. Watch your dog first, then choose the plan.
Testing and Introducing the Bed
Test the bunk bed before your dogs use it. Place heavy bags or weights on each platform. Use at least the expected dog weight, and apply extra pressure near the edges.
Push the frame from the front, back, and sides. Listen for creaks. Check that the feet remain flat and that the rails do not flex. If the bed moves, add braces, widen the base, or anchor it to the wall.
Introduce the bed in stages:
-
Place it in a familiar room.
-
Put a favorite blanket on the lower level.
-
Reward the dog for sniffing the frame.
-
Encourage use of the lower bed first.
-
Add treats on the steps or ramp.
-
Supervise the first upper-level visits.
-
Watch for hesitation, slipping, or repeated jumping down.
Never lift a heavy dog onto the upper bed unless you can do so safely. If the dog refuses the upper level, use the lower bed and do not force the issue. A successful pet bed is one the dog chooses to use.
Cost, Time, and Design Options
A basic DIY dog bunk bed may cost about $75 to $250, depending on lumber, hardware, mattresses, tools, and finish. Reclaimed wood can reduce the price, but inspect it carefully for pests, chemicals, nails, and rot.
A simple project may take one weekend. Cutting and assembly often take a few hours, while sanding, painting, and curing add more time. Do not rush the finish. A fully cured surface is safer than a fresh one with lingering fumes.
Popular design options include:
• Crate-style bunk bed: Useful when the lower area must feel enclosed.
• Open-frame bed: Easy to clean and suitable for confident dogs.
• Corner bunk bed: Fits neatly into a room corner.
• Bunk bed with drawers: Adds storage for leashes and toys.
• Ramp-access design: Better for senior dogs.
• Detachable upper bed: Useful if the household’s needs may change.
• Wall-mounted design: Saves floor space but requires strong wall attachment.
The simplest design is often the best. Extra shelves, doors, and decorations add weight and more places for dust to collect.
Frequently Asked Questions About Do It Yourself Dog Bunk Bed Plans
Are DIY dog bunk beds safe?
They can be safe when the frame is stable, the upper level has guard rails, and the access path is secure. Always match the design to the dog’s size, age, strength, and mobility.
What wood is best for a DIY dog bunk bed?
Kiln-dried pine is affordable and easy to work with, while hardwood offers greater durability. Use clean, untreated interior lumber and avoid boards with rot, chemical odors, or large cracks.
How high should a dog bunk bed be?
A lower total height is safer for puppies, seniors, and dogs with joint problems. Many indoor designs stay around 30 to 40 inches tall, but the best height depends on the dog and the room.
Does a dog bunk bed need a guard rail?
Yes, the upper level should have rails on exposed sides. Leave a clear entry point and make sure the rails are smooth, firm, and high enough to reduce the chance of rolling out.
Is a ramp better than stairs for dogs?
A ramp is often easier for older dogs or dogs with arthritis, but it needs a textured surface and side guides. Stairs may work well for agile dogs when each step is wide, low, and stable.
Can large dogs use a DIY dog bunk bed?
Large dogs can use one if the frame, platform, joints, and center supports are designed for their weight and movement. A low two-level design is usually safer than a tall, narrow frame.
How do you clean a homemade dog bunk bed?
Use removable, washable covers and vacuum the frame regularly. Inspect the wood and hardware each month, then tighten screws and repair damaged surfaces before they become safety problems.
Conclusion
Do it yourself dog bunk bed plans can create a practical, comfortable sleep station while saving valuable floor space. A successful build needs strong joints, a wide and stable base, safe guard rails, smooth edges, washable bedding, and an access system your dog can use with ease.
Start by measuring your dog and studying its habits. Build low when mobility is a concern, test the frame with extra weight, and introduce the bed slowly. With careful planning, your finished bunk bed can feel less like a project and more like a safe little home within your home. Share your design ideas, explore more pet furniture plans, and begin your build with safety at the center.

Pet Care Writer & Researcher
Daniel writes practical guides on daily care, feeding, and safety, turning complex topics into simple, actionable advice.